How 3D Training Simulations Teach Equipment and Procedures
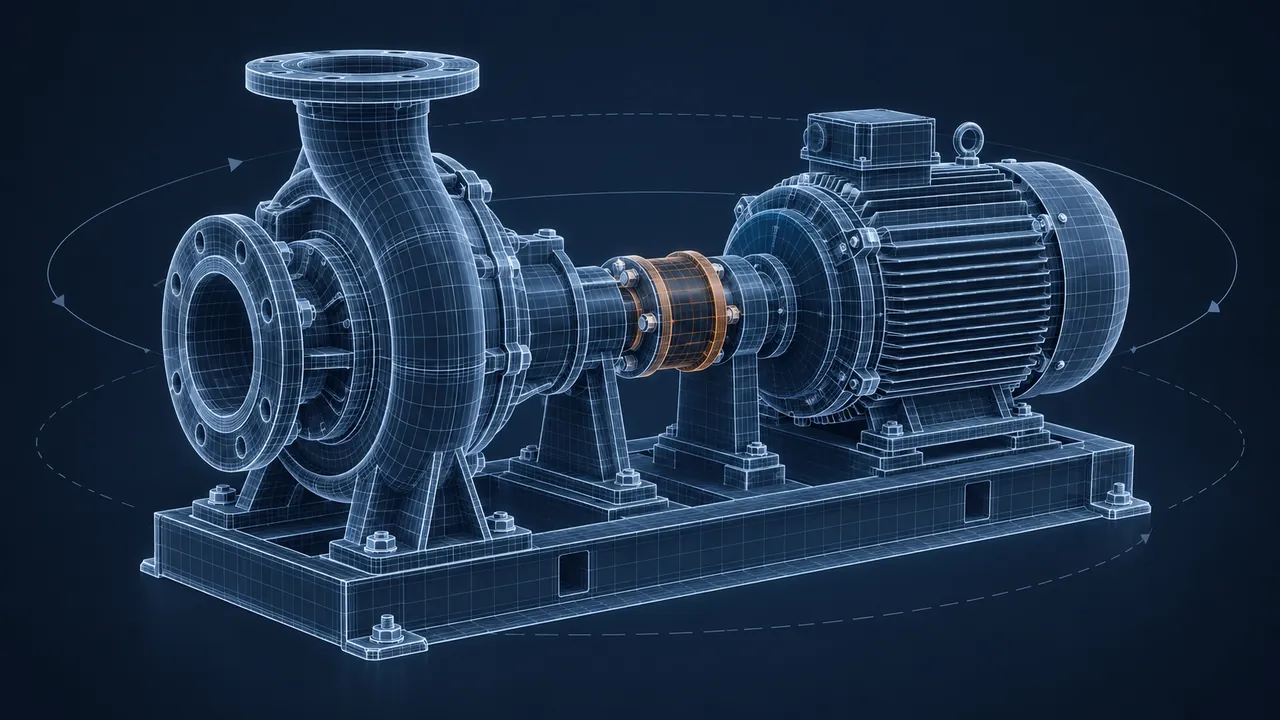
A new technician is in their first week, and the manual says to isolate the pump, bleed the line and replace the seal. The pump itself is in a building two hours away, and it's running. How do they learn where everything is before they ever touch it? How does a 3D training simulation teach equipment and procedures well enough to make that first real job go smoothly?
A 3D training simulation teaches equipment by letting learners see it from every angle, take it apart and practice the procedure in the right order, with the simulation responding the way the real machine would. It works in layers: first the learner builds a mental map of the equipment, then they practice steps with guidance, then without it, and finally they deal with faults and surprises. Because every action is tracked, you can see exactly where someone hesitates or skips a step. It won't replace hands-on time with the real equipment, but it makes that time shorter, safer and far less confusing.
Why Does 3D Work So Well for Equipment Training?
Equipment is spatial, but most training material is flat. A photo shows one side, a schematic shows connections without size or reach, and a video moves at someone else's pace. When a learner has to understand that the drain plug sits under the housing, behind a guard, and can only be reached from the left, flat media force them to assemble that picture mentally, and many never quite succeed.
A 3D model provides the picture directly, since learners can orbit around the machine, zoom into the tight spots, hide the guard and look through it. That freedom to explore builds what I'd call a mental floor plan of the equipment, and once that floor plan exists, the procedure steps have somewhere to attach.
There is also a safety and access argument. Some equipment is dangerous to practice on, some is too expensive to take offline and some lives in places only a few people can reach. A simulation gives every learner the same unlimited access, at any hour, on the machine's worst day.
The Four Layers of a Good 3D Training Simulation
The strongest equipment simulations I've seen are built in four layers, each one transferring more control to the learner, and when you skip a layer you usually notice it in the results.
Layer 1: Explore
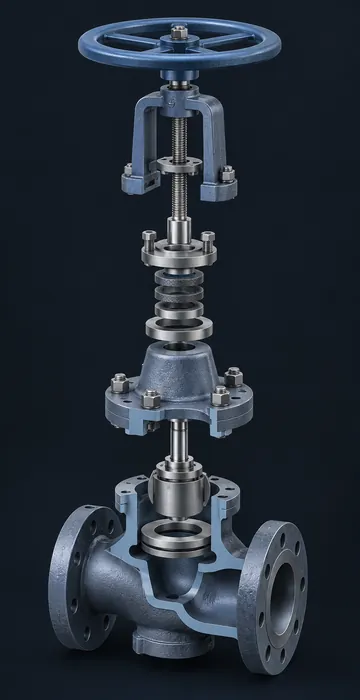
The learner moves freely around the equipment with light prompts, and clicking a part highlights it, displays its name and shows what it connects to. Exploded views do much of the teaching here. Watching a gearbox separate into its housings, shafts and bearings along one axis teaches assembly order before anyone mentions assembly order.
Layer 2: Identify
Now the simulation asks questions about the space. Find the isolation valve. Which gauge shows discharge pressure? Where would a leak at this seal appear first? This layer is still low stakes, but it confirms that the mental floor plan actually exists.
Layer 3: Procedure
The learner performs the task step by step, with hints and ghosted arrows in early runs that disappear in later ones. Each action has to happen on the correct part, in the correct order, with the correct tool. If they open the drain before isolating the line, the model shows what happens: fluid on the floor, pressure where it shouldn't be, a stopped scenario and a short explanation.
Layer 4: Fault and Variation
Real jobs rarely match the manual exactly: a bolt is seized, a gauge reads incorrectly or the previous shift left a valve half open. The final layer introduces these complications so that learners practice noticing and adapting, which is where a simulation starts building judgment and not just recall.
How Is a 3D Training Simulation Built?
The build follows a fairly steady path, though the effort in each stage depends on how complex the equipment is and how many procedures you cover.
- Pick the tasks. List the procedures that cause the most errors, injuries, downtime or support calls. Those are your first scenarios.
- Walk the job with a subject matter expert (SME). Film or photograph the real equipment from every side, record the exact step order and note every place people commonly go wrong.
- Get the geometry. Engineering CAD files are a great start, but they are usually far too detailed to run smoothly. They need cleanup and simplification. If no CAD exists, an artist models from photos and measurements.
- Optimize and package the model. Reduce polygon counts, bake textures and export in a runtime format. The open glTF format from the Khronos Group is a common choice for web-based delivery because it loads fast and most 3D tools support it.
- Script the interactions. Define every clickable part, every valid action, every wrong action worth catching and what the model does in response.
- Add feedback and tracking. Decide what gets recorded (order, time, errors, hints used) and how learners see their results.
- Test with real users. Put a new hire and a veteran in front of it. The new hire finds the confusing controls. The veteran finds the technical mistakes.
Step three surprises many teams. A CAD assembly built for manufacturing might include every thread on every screw, which is perfect for engineering and terrible for a training app on a laptop. Plan for cleanup time, or ask the artist to rebuild only the parts the learner touches in full detail and keep the rest simple.
What Should the Simulation Track?
One of the quiet advantages of a 3D simulation is that every action becomes data. A multiple-choice quiz tells you whether someone picked B, while a simulation can tell you what they did, in what order and how long they hesitated before doing it.
| What to track | What it tells you |
|---|---|
| Step order errors | Which sequences people genuinely misunderstand |
| Time per step | Where learners hesitate or hunt for parts |
| Hints used | How much support each person still needs |
| Wrong part selected | Gaps in the mental floor plan |
| Fault scenarios passed | Readiness for real, messy conditions |
Examine the patterns across a group, not just individual scores. If most people select the wrong valve at step four, the problem may be the job aid, the valve tagging on site or the way the procedure is written, which is valuable information for operations as well as for training.
How Does the Simulation Fit With Hands-On Training?
It comes before the hands-on time and makes that time count. The simulation handles the parts of learning that don't need the real machine: names, locations, sequence and the basic logic of the procedure. Then the hands-on session can focus on the things only the real machine teaches, like the feel of a stiff valve, the sound of a pump starting to cavitate and the weight of the tools.
A pattern that works well looks like this:
- Before the site visit, learners complete the explore and identify layers on their own time.
- They practice the procedure in the simulation until they can do it without hints.
- The instructor reviews the tracking data and sees who is still shaky on which steps.
- On site, the instructor spends the scarce equipment time on those weak spots and on real-world feel.
- Afterward, learners return to the fault scenarios to rehearse what can go wrong.
This blend respects the instructor's time too, since nobody wants to spend a morning on a cold plant floor pointing out where the pressure gauge is when the simulation has already done that.
Keeping the Model Current
Equipment changes. A vendor revises a part, a site adds a bypass line, a procedure gets a new lockout step after an incident review. If the simulation doesn't change with it, learners practice an outdated version of reality, and that can build habits you then have to untrain.
Build for updates from the start. Keep the procedure logic in a data file or simple configuration that a developer can edit without rebuilding the whole app. Name every part in the model clearly so a swap is a five-minute job and not a week of detective work. Give one person on the operations side the job of flagging changes to the training team. Small habits like these keep a simulation useful for years instead of months.
Desktop, Tablet or Headset?
Most equipment simulations should start on a normal screen, because a desktop or tablet application reaches every learner, requires no special hardware and is far easier to update. Exploring, identifying and practicing procedure order all work very well with a mouse or a finger.
Headsets make sense when body position matters, since reaching overhead, kneeling to read a gauge, judging a gap or working at height all change when the learner's own body is involved. Immersion also raises the emotional stakes, which helps when the goal is rehearsing a dangerous moment. If that's your situation, it is worth weighing the real costs and benefits of VR safety training before you buy hardware.
A practical middle path is to build the 3D content once and deliver it to both. Many teams launch on desktop for reach, then add a headset version for the few procedures where scale and posture really matter.
From Mental Floor Plan to First Real Job
A 3D training simulation earns its budget when it gives learners a clear picture of the equipment and then makes them use that picture under pressure. Explore, identify, practice the procedure and then handle the faults. That sequence turns a confusing machine into a familiar one.
If you are planning one, start small by choosing the single procedure with the worst error record, building all four layers for it and observing what your learners do. The data from that first scenario will tell you which procedure to build next, and whether your team needs more fidelity or simply more practice. If you'd like help choosing that first procedure or building it, 3D equipment trainers are a core part of my simulation work.