How to Write an eLearning Storyboard – Template and Examples
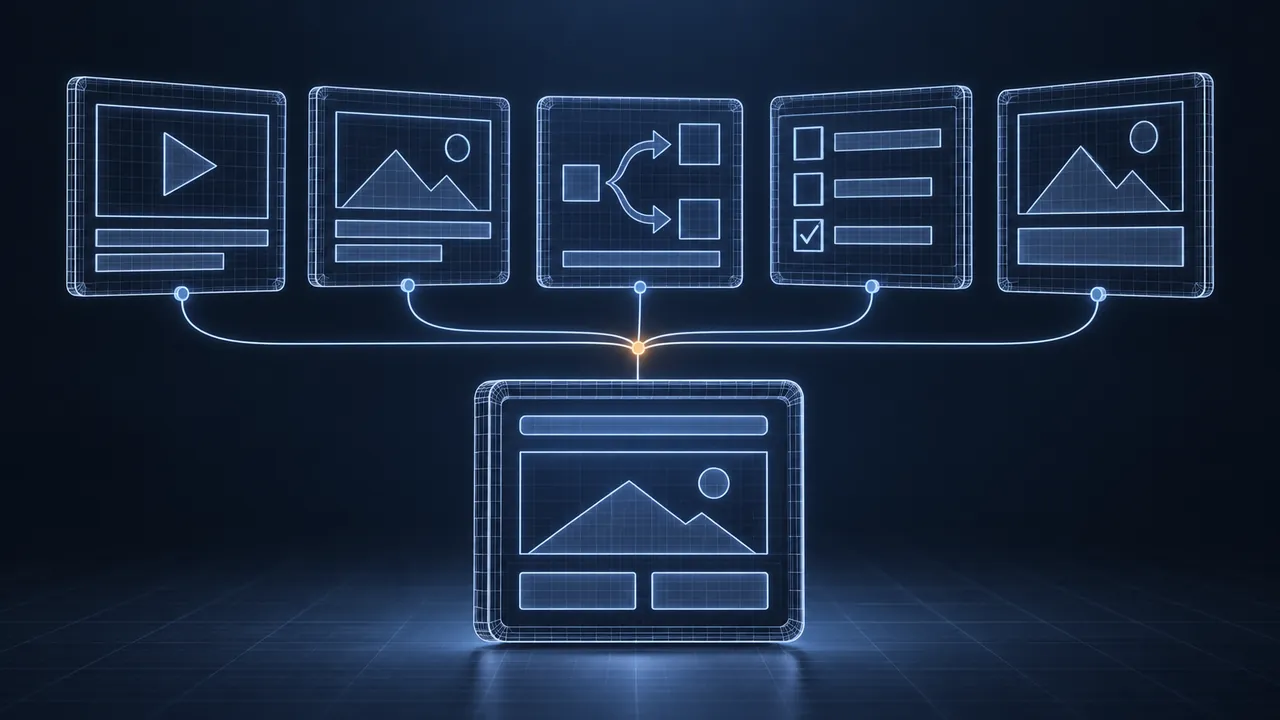
You have the objectives, the subject matter expert's notes and a deadline. Now you need to turn all of it into something a reviewer can approve and a developer can build without guessing. That document is the eLearning storyboard, and its quality decides how smooth the rest of the project will be. A vague storyboard means arguments during the build. A clear one means the build is mostly typing. How do you write an eLearning storyboard that works for reviewers and developers alike?
Write an eLearning storyboard by laying out the course one screen at a time, with each screen listing its on-screen text, narration, visuals, interactions, navigation and developer notes in a consistent template. Start from an approved outline, write the narration and on-screen text first, then describe the visuals and interactions that support them. Add enough detail that a developer could build the screen without asking questions, and enough clarity that a subject matter expert (SME) can check the content in one read. Then get it formally approved before any audio is recorded or any screens are built.
What Is an eLearning Storyboard?
An eLearning storyboard is a screen-by-screen blueprint of a course. It describes everything the learner will see, hear and do, in the order they will experience it. Film and animation have used storyboards for planning for a long time, and eLearning borrowed the idea for the same reason: changing a plan is far cheaper than changing a finished product.
The storyboard serves two audiences with different needs. Reviewers need to read the content and confirm it's accurate and complete. Developers need precise instructions for building each screen. A good storyboard does both without becoming a novel.
It also becomes the contract for the project. Once it's approved, the build should match it. Anything that differs later is either a build error or a change request, and that clarity keeps projects on schedule.
What Should an eLearning Storyboard Template Include?
An eLearning storyboard template should include the same set of fields for every screen, so nothing gets forgotten and reviewers always know where to look. Here are the fields I use on most projects:
| Field | What goes in it |
|---|---|
| Screen ID | A unique code like M2-S05 (module 2, screen 5) that never changes |
| Screen title | A short working name for the screen |
| On-screen text | Exactly what appears on the screen, word for word |
| Narration | The full voiceover script, word for word |
| Visuals | Images, video, animation and layout, described or sketched |
| Interaction | What the learner clicks, drags or chooses, and what happens |
| Feedback | The exact text for correct, incorrect and partial responses |
| Navigation | How the learner moves on, and whether anything is locked |
| Developer notes | Timing, triggers, variables, accessibility notes, file names |
| Review status | Draft, in review, approved, with the reviewer's initials |
Two fields deserve extra care. On-screen text and narration should never be identical paragraphs. Richard Mayer's research on multimedia learning (the redundancy principle) found that repeating the narration word for word on screen usually doesn't help learners and can get in the way. And the screen ID should be stable, because every comment, audio file and bug report will point to it.
Text-Based, Visual or Prototype: Which Format Fits?
The right format depends on how complex the course is and how visual your reviewers are. There are three common choices.
Text-Based Storyboards
A text-based storyboard is usually a document or spreadsheet with one row or table per screen. It's fast to write, easy for SMEs to comment on and simple to track. It works well for content-heavy courses and for script reviews. The weakness is that reviewers have to imagine the visuals, which can lead to surprises at the alpha.
Visual Storyboards
A visual storyboard adds a sketch or mockup of each screen, often in a slide tool. Reviewers can see the layout and imagery before the build. It takes longer to produce but cuts down on "that's not what I pictured" comments. Use it for courses with custom graphics, animation or a new visual style.
Rapid Prototypes
A prototype is a rough working version of a few screens built in the authoring tool. It's the best way to test a complex interaction or a branching scenario before committing to the whole build. Most teams combine it with a text storyboard: prototype the tricky parts, storyboard the rest.
eLearning Storyboard Examples
Here are three example screens from an imaginary course on reporting near misses in a warehouse. Each shows how the fields work together for a different screen type.
Example 1: A Content Screen
- Screen ID: M1-S03. Title: What Counts as a Near Miss.
- On-screen text: "A near miss is an event that could have caused injury or damage, but didn't."
- Narration: "Picture a pallet sliding off a forklift and landing a few feet from a coworker. Nobody was hurt. That's a near miss, and it's exactly the kind of event we want you to report."
- Visuals: Illustration of a fallen pallet in an aisle, worker in the background stepping back. Animate the pallet falling when narration says "sliding off."
- Interaction: None. Next button appears when narration ends.
- Developer notes: Alt text: "Pallet fallen in an aisle a few feet from a worker." Audio file M1-S03.mp3.
Example 2: A Scenario Screen
- Screen ID: M2-S07. Title: Decide What to Do.
- On-screen text: "You notice a spill near the loading dock. Nobody has slipped yet. What do you do?"
- Choices: A) Clean it up and move on. B) Clean it up and report it as a near miss. C) Tell your supervisor at the end of the shift.
- Feedback A: "Cleaning it up was right, but without a report, nobody learns where the spill came from."
- Feedback B: "Exactly. You removed the hazard and gave the team a chance to fix the cause."
- Feedback C: "Waiting means someone could slip in the meantime. Make it safe first, then report."
- Developer notes: Learner must choose B to continue. Track choice in a variable for the summary screen.
Example 3: A Knowledge Check
- Screen ID: M3-S02. Title: Check Your Understanding.
- Question: "Which of these is a near miss?" Options: a box falls from a top shelf and lands where a coworker was standing a moment earlier; a scheduled fire drill; a delivery that arrives late.
- Correct answer: the falling box. Feedback for each option written out in full.
- Developer notes: Two attempts. Score reports to the learning management system (LMS). Randomize option order.
How to Write a Storyboard, Step by Step
Write it in the same order every time: content first, then visuals, then build details. That order keeps reviewers focused on accuracy and keeps the developer from building around words that will change.
- Start from the approved objectives and outline. Every screen should serve an objective.
- Draft the narration and on-screen text for a whole lesson before adding visuals. Content first, decoration later.
- Read the narration out loud. If you stumble, the voice actor will too.
- Describe the visuals and interactions that support each screen's point.
- Write all feedback in full. "Correct feedback here" is a placeholder that comes back to bite you.
- Add developer notes, including alt text and file names.
- Do your own review against the objectives before anyone else sees it.
How Detailed Should a Storyboard Be?
A storyboard should be detailed enough that the developer could build every screen without asking a question, and no more. That's the test. If a developer has to guess what happens when a learner clicks the wrong answer, the storyboard is too thin. If it describes the exact pixel position of every icon, it's doing the developer's job for them and slowing down your reviews.
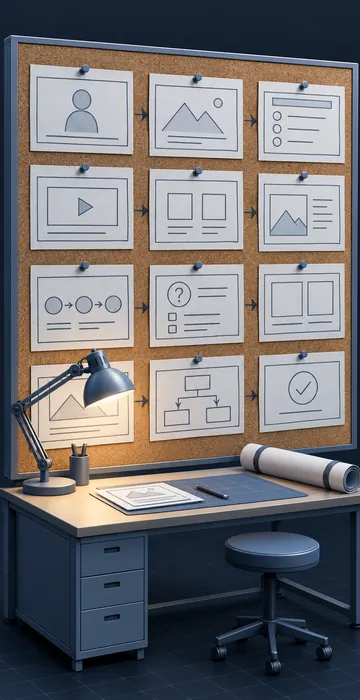
Word-for-word detail matters for anything a reviewer must approve: narration, on-screen text, questions and feedback. Looser description is fine for things a developer or designer can decide within the style guide, such as button placement or which stock photo fits. When in doubt, ask your developer to read one lesson before you send the full storyboard for review. Their questions will show you exactly where it's thin, and fixing those spots once is far easier than answering the same question forty times during the build.
Getting the Storyboard Approved
Approval is the point of the whole document, so make it easy. Send the storyboard with specific questions for each reviewer: the SME checks accuracy, the stakeholder checks tone and fit, compliance checks required wording. Give a firm review window and ask for one consolidated set of comments.
Then make the approval formal. A signed or emailed "approved for development" protects everyone. If changes come in after that point, they're change requests with a cost, not casual edits. The storyboard also becomes the reference for quality assurance (QA) testing: your eLearning QA checklist should compare every built screen against its approved storyboard entry.
Common Storyboard Mistakes That Cause Rework
Most storyboard mistakes come from leaving decisions for later. Each one feels harmless during writing and turns expensive during the build:
- Placeholders for feedback, alt text or narration that never get filled in.
- Visual notes like "something engaging here" that force the developer to guess.
- Narration that reads the on-screen text word for word.
- Screens that don't map to any objective.
- No version control, so reviewers comment on an old draft.
Fix these before review, and your SMEs will spend their limited time on what matters: whether the content is right.
Your eLearning Storyboard Is the Cheapest Place to Fix Anything
An eLearning storyboard is a screen-by-screen plan that tells reviewers what they're approving and tells developers exactly what to build. Use a consistent template, write content before visuals, spell out every interaction and piece of feedback, and lock it with a formal approval.
Test the ten-field template on a single lesson before you roll it out. Hand it to a developer and ask how many questions they have. The fewer the questions, the better your storyboard, and the smoother the rest of the project will run.